Setting up custom send schedules for sequences
Last updated: March 8, 2026
Unify supports custom send schedules for sequences, allowing you to choose the timezone, weekdays, send windows, and blackout dates that fit your prospects' needs for better engagement.
Creating a custom send schedule
To get started with custom send schedules:
Click "Add a new custom schedule"
Configure your preferred timezone, days of the week, time windows, and any blackout dates
Save your custom schedule
Applying a send schedule to a sequence
Once you've created your custom send schedule:
Navigate to your sequence
Click the edit button on the sequence
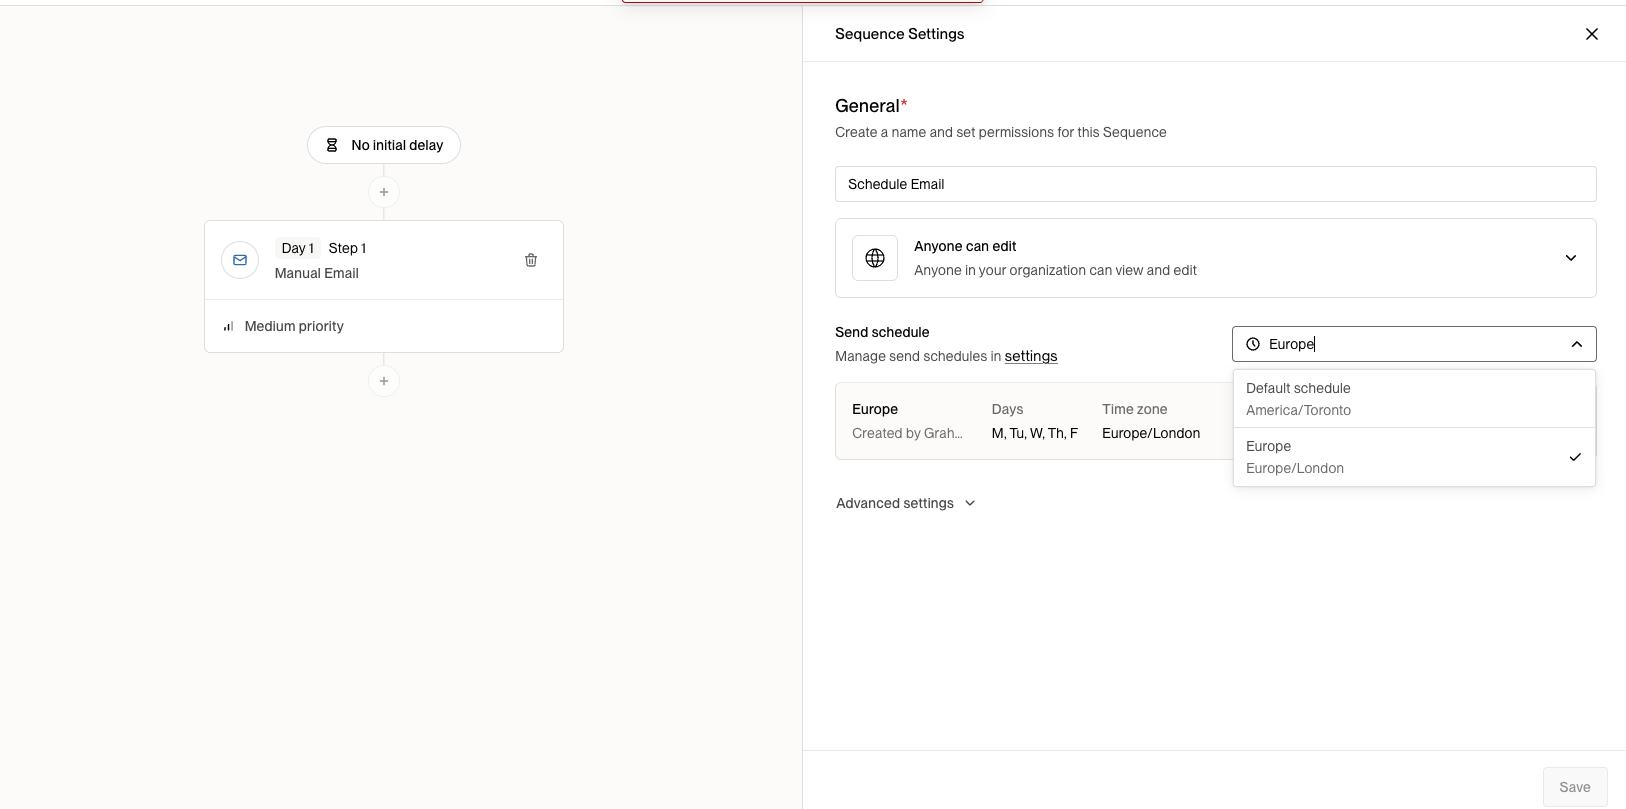
Change the "Send Schedule" setting to your desired custom schedule
Save your changes
For detailed instructions, refer to the send schedules documentation.
Important limitations
One schedule per sequence: Each sequence can only use a single send schedule and timezone. You cannot automatically send emails based on each lead's individual timezone within the same sequence.
Workaround for multiple timezones: If you need to reach prospects in different timezones, you'll need to create separate sequences or custom send schedules for each region/timezone and assign leads accordingly.
Holiday and weekend handling
Sequences automatically respect weekends and US holidays. For example, if you have a two-day delay and send an email on Friday, the next email will be sent the following Monday. You can also set custom blackout dates in your send schedule for specific regional holidays.
Important: Blackout dates and send windows delay emails to the next available window—they don't prevent emails from sending entirely. If you need a hard stop after a specific date (for example, when running time-sensitive event campaigns), you must manually pause the sequence at the end of your desired window.